Wednesday, August 21, 2019


                             BANANA DATES SMOOTHIE 

                      SUGER  FREE  &  VEGAN SMOOTHIE        


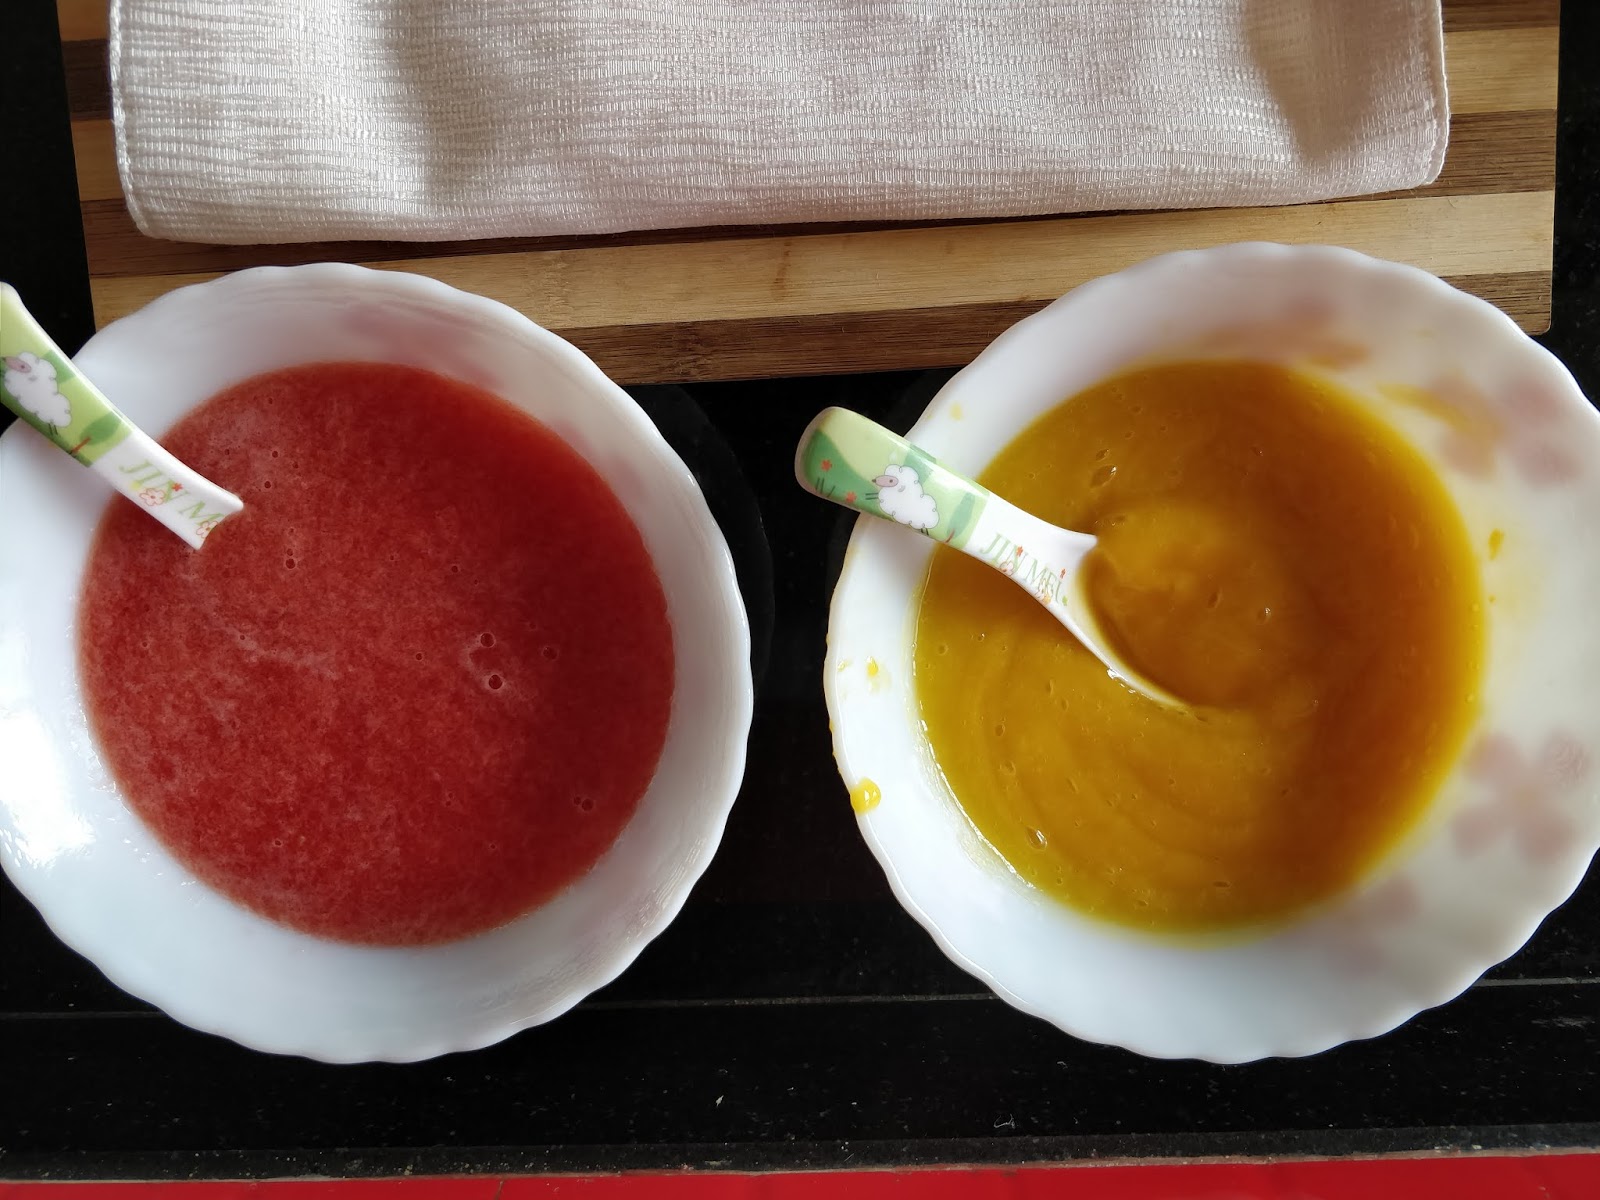
Smoothies are so tempting, in creditably delicious and full of flavors. There’s no better way to start the day then with a satisfying, yummy serving of blended fruits and vegetables. Smoothies are full of nutrition as well as good source of protein and lots of fibre. Smoothie breakfasts are quick and easy to make.

Banana Dates Smoothie


Smoothie recipes call for raw fruits, vegetables, nuts & dry fruits. You can always make plenty of combinations of fruits and vegetables. It’s a wholesome drink with the power of seeds, nuts, fruits & veggies. Dates and figs adds natural sweetness and nourishment.


I added flex seeds, poppy seeds and sesame seeds as additional to get the power of calcium. 


Bananas are very good for our gut health and digestive system. Dates are very beneficial in constipation. Poppy and sesame seeds are high in calcium.
Let's begin with the ingredients.

INGREDIENTS

1. 1 Ripe banana                              
2. 3-4 Soaked dates
3. 2  Soaked Figs
4. 1 tbs Peanut butter
5.  ½ tsp Flex seeds
6.  1 tbs Poppy seeds
7.  1 tbs Sesame seeds
8.  1 cup Almond milk


Power pack of seeds


Dates, banana & peanut butter

Prepration

1. Powder the dry ingredients like poppy, sesame and flex seeds.
2. Place all the ingredients in a blender and blend on high speed until smooth.
3. Serve with a sprinkle of chia seeds and consume immediately.
Top it with chia seeds or flex seeds

RECIPE NOTES 

Soak dates and figs overnight. You can always use fresh coconut water instead of almond milk.
Soaked dates and figs

 keep these breakfast smoothies as healthy and nutritious as possible.

Do not add extra sugar as some fruits, dates and figs have natural sugar and perfectly works as a sweetener.

Did you make this recipe ?? 
If you give this recipe a try, let me know !!

My Youtube link : https://youtu.be/UfYsmdj-zk8

My Website link   https://www.addanky.com/recipes


Tuesday, May 21, 2019

                                MANGO WATERMELON  SUMMER                                                           DRINK/JUICE


Such a delicious combination of mango & watermelon. Which is healthy and tasty too. In hot n humid weather fruit juices n smoothies are definitely a better and good option to have instead of having sugary drinks. 


Mangoes help to control blood sugar and blood pressure levels in body. Mangoes are very healthy and nutritious but has different vitamin content also. Watermelon which is full of Lycopene. Fruits which have Lycopene content has antioxidant properties that can help prevent cell damage, prevent diseases like Cancer. These fruits also add natural sweetness to the summer drinks.  


Very refreshing drink, easy to make and the best part of this drink is that you don’t need to measure any ingredients just as we do for other recipes, you don’t need to be a Mr. Perfectionist. It’s always so fun, experimenting with variety of fruit combinations for making juices and smoothies or shakes. Today I have made a cool, refreshing summer drink with the combination of sweet mangoes and watermelon.


Let’s have a quick look on Ingredients


1 large mango
1 & ½ cup watermelon
Fresh homemade cream
Ice cubes
* Add Sugar if you need  more sweetness ( I didn’t add any sweetener to make this recipe )

Preparation

How to make  mango and watermelon juice...

1. Wash the mangoes and watermelon, peel off.

2. Dice or chop the watermelon and mango separately.

3. Blend mango cubes along with ice and puree them.

4. Same process with watermelon, blend and puree them too.

5. Half fill the mango puree in a serving glass or jar.

6. Now slowly pour the watermelon juice on it with the help of a spoon or directly.

7. On the top pour some fresh cream or half-melted ice cream of your choice and flavor.


8. Give the final touch with the garnish of chopped mangoes, watermelon and chia seeds.


NOTES

1. Avoid using extra sweeteners to the juice as these fruits contains natural sweetness.
2. Blend the fruits separately until smooth.
3. You can add tender coconut water to it to raise the nutritional value of this juice.
4. Use fresh fruits to make smoothies or any sort of juices.
5. Mango requires more liquid or water as it’s a pulpy fruit, so I added watermelon. Mango puree becomes thick in volume once blended.  You can add water or coconut water to it to get the more liquid consistency.


Enjoy your summer with this refreshing drink…
Stay healthy and hydrated.

If you have tried this recipe, do tell me about your experience. 

Youtube link for this recipe  https://youtu.be/ZGJ-Xy1IQ7Y

My website link  https://www.addanky.com/


Tuesday, May 7, 2019

                 WHOLE WHEAT  CHOCOLATE CHIPS COOKIES


Whole wheat cookies are not just great in taste as well as these are good biting snacks for toddlers. WW cookies are also healthy and nutritious. We can also add dry fruits & nuts to it, to increase the goodness & nutrient value.
If kids are fussy and finicky then just grind or powder the dry fruits and nuts and add into the dry ingredients. (a clever tip from a struggling mom of fussy kids)


Okey, this is such a easy recipe, you need a handful of easy ingredients, am sure which you already have in your kitchen cupboard. 

These tea time cookies go well with evening tea or morning coffee. Biscuits and cookies are one of the greatest combination for tea time or tea parties. This WW cookies are one of the simplest and easiest cookies you will ever make. You don’t need a pre-mix or any other fancy equipment for making these little healthy cookies, just a handful of ingredients and your choice of nuts & dry fruits. These cookies were my attempt or you can say my experiment which turned out pretty yum that I couldn't resist my self stopping with just one cookie.


Taste and texture: Nothing can beat these cookies in taste as they are made up of WW.
Crispy crust and chewy and soft on the inside.

Without taking more time, I will take you guys to the recipe and ingredients…


 Let’s have a look to the required INGREDIENTS


Wheat flour 1 and 1/4th cup
Cocoa powder 1 and ½ tbsp
Brown sugar 1 cup
White Chocolate chips 1 cup
Raisins ½ cup
Corn starch 1 tbsp
Baking soda ½ tsp
Salt ½ tsp


 1 Whole egg
 Butter ½ cup
 Vanilla essence 1tsp
 Milk if needed


My way of baking METHOD

1. Cream the butter and sugar with the help of a whisker till the sugar is completely blended with butter. Mixture should look light and fluffy.


Cream butter and sugar
Light and fluffy

2. Add a large egg and vanilla extract and keep stirring till all the ingredients are uniformly mixed.


Whole egg and vanilla extract

3. Wet ingredients mixture is ready.

4. Sift the dry ingredients and add into the butter sugar mixture.
Cocoa powder,corn starch,baking soda & salt

Wheat flour

5. Finally add raisins and white Chocolate chips & give it a stir.
White chocolate chips & raisins

6. Do not knead, just combine smoothly to form a dough.


Cookie dough

7. If the dough is really tight and thick, add one or two tbsp. of milk just to loosen the dough.

8. Scoop out the dough, roll into a ball. flatten them with spoon or rolling pin.

9. Place these flatten cookies into a lined cookie tray. (I flatten the cookie balls after baking of 8 minutes, again kept it for further baking.)
Cookie balls

10. Bake these cookies in pre-heated oven for 15-18 minutes at 160 degree C or till they turn slightly golden.

11. Let them cool completely, cookies will be little soft when hot but soon cookies will turn crunchy and chewy when cooled.


Crispy crunchy & chewy

NOTE:  You can flatten the cookie dough before putting it in oven or else let it bake for 5-8 minutes then take out the tray and flatten them with a spoon, again bake them for 10 minutes or until turn crispy. 

Whole wheat flour makes the cookies little dense.

When the cookies are baked, it cracks on top which is quite normal, gives a nice crispy crust on top and bottom and chewy inner side.


Recipe tips

1. All ingredients should be in room temperature specially butter and egg.
2. Here am using wheat flour, alternatively you can use plain flour too.
3. If cookie dough is really tight, add 1-2 tbsp. of milk, one spoon at a time.
4. Time and temperature may vary for different ovens.
5. Adjust the recipe as per your preference.


Hope you will give this a try and let me know how it turns out for you. 
                         !!Bake with love ❤️ ❤️!!


For more recipes, follow me on youtube https://www.youtube.com/channel/UCJQmHol7XFT7roOcSQ6f9xw?view_as=subscriber

Youtube link for this recipe https://youtu.be/XU5geC2z7as


My website https://www.addanky.com/


Tuesday, January 22, 2019

                                                  RUM RAISIN CHOCOLATES


They are just divine, delicious and flavorful ……yes they are super delicious Rum chocolates with the flavor of “Bacardi” soaked raisin. Whether it is cake or chocolates the combination of rum and raisins are my all-time favorite one. In today segment I will show you how to make delicious Rum and Raisin chocolates, which have a rich flavour dark n milk chocolate & rum-soaked raisins. 

These chocolates are perfect for any party or gifting to family & friends. Delicious and easy to make, they make a great dessert for end of the dinner or lunch.

You can use any shape and size of moulds you like, here I am using sillicon moulds.


Method

1. Combine the rum and raisin in the bowl, mix well and keep aside to soak for 4-5 hours or overnight. Am using Bacardi white rum for soaking.


2. Melt the chocolates using double boiler or microwave on high for 1 minute or until melted. Giving it an occasional stir. 


3. Immediately take the melted chocolate and half fill the mould with it, tap it lightly. Place the mould in refrigerator for 5 minutes to get firm.


KEY NOTE: After half fill the moulds flip the mould so that excess chocolate gets poured out and a thin layer of chocolate will be remain as a chocolate shell.


4. In a bowl take some melted chocolate and add white rum to it, give nice mix to it.


5. After 5 minutes take out the mould & again half fill the mould with chocolate-rum mix, put 2 to 3 soaked raisins in each cavity.


6. Keep the mould in freezer for 4-5 minutes.


7. Fill the mould with the remaining melted chocolate, remove the excess chocolate from the mould. Tap it gently and place in the freezer for 5-10 minutes or till firm.

8. Turn the moulds over and gently push to release the chocolate bars.


9. Keep it in air tight jar or refrigerate.


And it’s done…

You can reach me at 

Youtube https://youtu.be/4uMLMtr3sGU

website https://www.addanky.com/blog/rum-raisin-chocolates


Friday, October 26, 2018


                                          HAZELNUT ALMOND NUTELLA

My homemade version of hazelnut almond Nutella is not only tasty, but healthy and budget free too, better than store bought. You can make this spread with or without hazelnuts. Smooth and silky in texture, the rich flavor of hazelnuts and almonds makes it mouthwatering and delicious. Once you make this spread at home I bet you will never ever buy it from store.
You can have this Nutella with fruits, pour it on the top of oatmeal bowl, goes well with homemade fresh breads or just eat it with a spoon. I LOVE IT❤️❤️


INGREDIENTS

Dry roasted hazelnuts 100 gms
Dry roasted almonds 100 gms
3 tsp cocoa powder
¼ th cup of brown sugar
soft chocolate ( 50 gms dark chocolate + 50 gms milk chocolate ) 
pinch of salt

½ tsp vanilla essence
1 Tbs honey
¼ th cup of almond milk 
2-3 Tbs of melted butter

INSTRUCTIONS


1. Process dry roasted almonds and hazelnuts until smooth and runny. This will take up to 10 minutes.
2. Add other ingredients into processor and process until smooth. Scrape down once in a while.
3. Taste the spread and adjust the recipe to your liking and taste.
4. Continue processing until the mixture is as smooth as you like.
5. In this recipe am using half portion of dark chocolate & half portion of milk chocolate. You can add the particular type of chocolate which you like to add.
          Nutella is ready!!!


NOTES

It may look runny but the mixture will get thicker as it sets. Store it in air tight container.


Keep it in the fridge so that it can last for up to 1- 2 months.


You can reach me at https://youtu.be/Emn_Gr62rCA

Website:  https://www.addanky.com/


Monday, September 10, 2018


                                           Oreo Cakey Coconut Blondies


Very simple, one bowl recipe of blondies. Easily customizable with your favorite items. One bowl, number of possibilities of add-ons, want to bake simple or customize…. Just go ahead with your own modifications…. Feel free to make customization to your liking….

All-time favorite & big hit in my house, loaded with Oreo biscuits, flavor of butter scotch Choco chips & loads of butter which makes it soft from inside and gives crunchy top. 

Let’s jump to the ingredients and recipe…


Dry Ingredients

2 cups flour
2/3 cup sugar
1 tsp salt
1 tsp baking powder
1 tsp baking soda
1 cup crushed Oreo biscuits
½ cup desiccated coconut
½ cup butter scotch flavored Choco chips

Wet Ingredients

1 cup butter
2 eggs
1 tbsp. vanilla

Instructions


In a large bowl add dry ingredients, mix well and set aside.

Add wet ingredients to the dry ingredients.


Combine everything well.


Grease the pan, pour the batter into the pan, spread it out evenly.


Bake at 180℃ for 20-25 minutes. Bake until center is set.


Allow to cool and cut into pieces.

Enjoy and let me know how it turned out  😊

You can reach me at  https://www.addanky.com/blog/oreo-cakey-coconut-blondies


Friday, August 24, 2018

Red tomato sauce for lasagna

                                               🍅 Red tomato sauce for Lasagna 🍅


Fresh tomatoes, onion, few garlics, combination of sugar and salt & a few more simple ingredients and that’s it. Very delicious and made with the goodness of fresh ingredients & seasonings. You can keep this tomato sauce in the fridge for one week. Nothing can beat this homemade fresh tomato sauce. It’s the base for many delicious and wonderful dishes. If you want to turn this sauce into meat sauce, simply add chicken or meat into this.

I use tomato sauce in many of my recipes. In India, its common to use red sauce in many dishes. Feel free to use your choice of spices & dry herbs. It’s a super quick recipe, easy to make, and you will be happy with the results☺️☺️ Either you can make a chunky tomato sauce or the smooth one. Optional herbs, chili flakes or seasonings can be added to make in your own way. 

 Ingredients & quantity to make this sauce 


5-6 Large tomatoes 
3-4 tbsp tomato puree
1 Large onion
5-6 Garlic
2 Bay leaves
1 tbsp salt
1 tbsp sugar
1 tbsp Italian seasoning
1 tbsp black pepper &
2-3 tbsp olive oil

Instructions to make this sauce


saute until translucent


add garlic

1. Chop the tomatoes, onions and garlic. In a heavy sauce pan add 2-3 tablespoon of olive oil.  Add chopped onions.
2. Sauté until translucent or soft in texture. Add chopped garlics. Again, sauté until fragrant. Be careful here, we don’t want to burn garlic.


3. Add tomato puree and chopped tomatoes. You can also use canned chopped tomatoes.
Tomato puree
Chopped tomatoes


4. Combine everything well, cover the sauce pan with lid and cook until soft and juicy.
5. Add dry seasonings along with pepper, salt and sugar. You can add chili flakes too for more spice.
Dry add-ons

6. Add bay leaf too, for more flavor. If sauce gets thick, add little water. Simmer about 5-10 minutes or until all the flavors come together.
7. Remove the bay leaf, once the sauce is done.
Homemade red sauce
NOTES

Customize this sauce according to your taste and liking.
If you like smoother sauce, then just puree it in a blender.
You can also use canned tomatoes if you are in a hurry.
You can make in a large quantity and store it in a fridge for later use.
This delicious sauce goes perfect with pastas, lasagna, spaghetti etc.
Use herbs and spices according to your taste.
It’s always better to use fresh ingredients for more taste and flavor.